

 |
> E&O/GL Insurance for Home Inspectors Competitive Rates, Broad Coverage, Free Risk Management, online inspection support for tough questions, discounts on education and more… Professional Coverage, Competitive Pricing Shop OREP today! |
Inspecting New Siding – Devil’s in the Details
by Tom Feiza, Mr. Fix-It, Inc. (www.htoyh.com)
Siding products have changed dramatically over the past 20 years. In addition to vinyl, many homeowners are choosing fiber cement or a modern wood fiber product. When properly installed, these synthetic siding products are an excellent replacement for cedar wood lap siding. They look like real cedar, and the coatings perform better because the synthetic products transfer less moisture through the siding – but they must be installed properly. Contractors must follow the manufacturer’s instructions.
Why are the new siding products sensitive to moisture intrusion? Because we don’t build homes like we used to. We wrap them in a plastic vapor barrier on the inside to keep water vapor out of the wall assemblies. We insulate wall cavities to slow heat loss. We wrap the outside with water-resistant barriers. While all of this makes new homes warmer, more comfortable, and less expensive to heat, it’s vital to keep almost all water out of the wall assemblies.
Back in the Old Days…
Older homes had simple roof lines. The roof and siding were easy to install, and no one ever heard of a “kick-out” flashing. Large overhangs protected the siding, doors and windows from water. These old homes leaked lots of air and lots of heat. If any water intrusion occurred, the wall soon dried naturally through this air loss and heat loss. In contrast, tightly wrapped new homes trap water, resulting in rot and mold.
(story continues below)

Modern Siding-Replacement Issues
That brings us to replacement siding projects and inspecting siding and trim. Here’s an example from my personal experience. I recently worked with a homeowner whose 30-year-old home had a total siding replacement with fiber cement lap siding. Fiber cement is a great product and it performs well if installed according to the manufacturer’s instructions. This homeowner specifically chose a contractor certified by the siding manufacturer (See Figure 1: Home with Cement Siding). The contractor removed the old cedar and placed a new water-resistant barrier over the wall assembly. Workers replaced flashings at windows, doors, and horizontal trim. They also installed kick-out flashings. The new siding looked great until leaks occurred over the front entrance and over the garage door. Now the owner was concerned. He had paid extra to reframe the front entrance because of long-term water leaks.
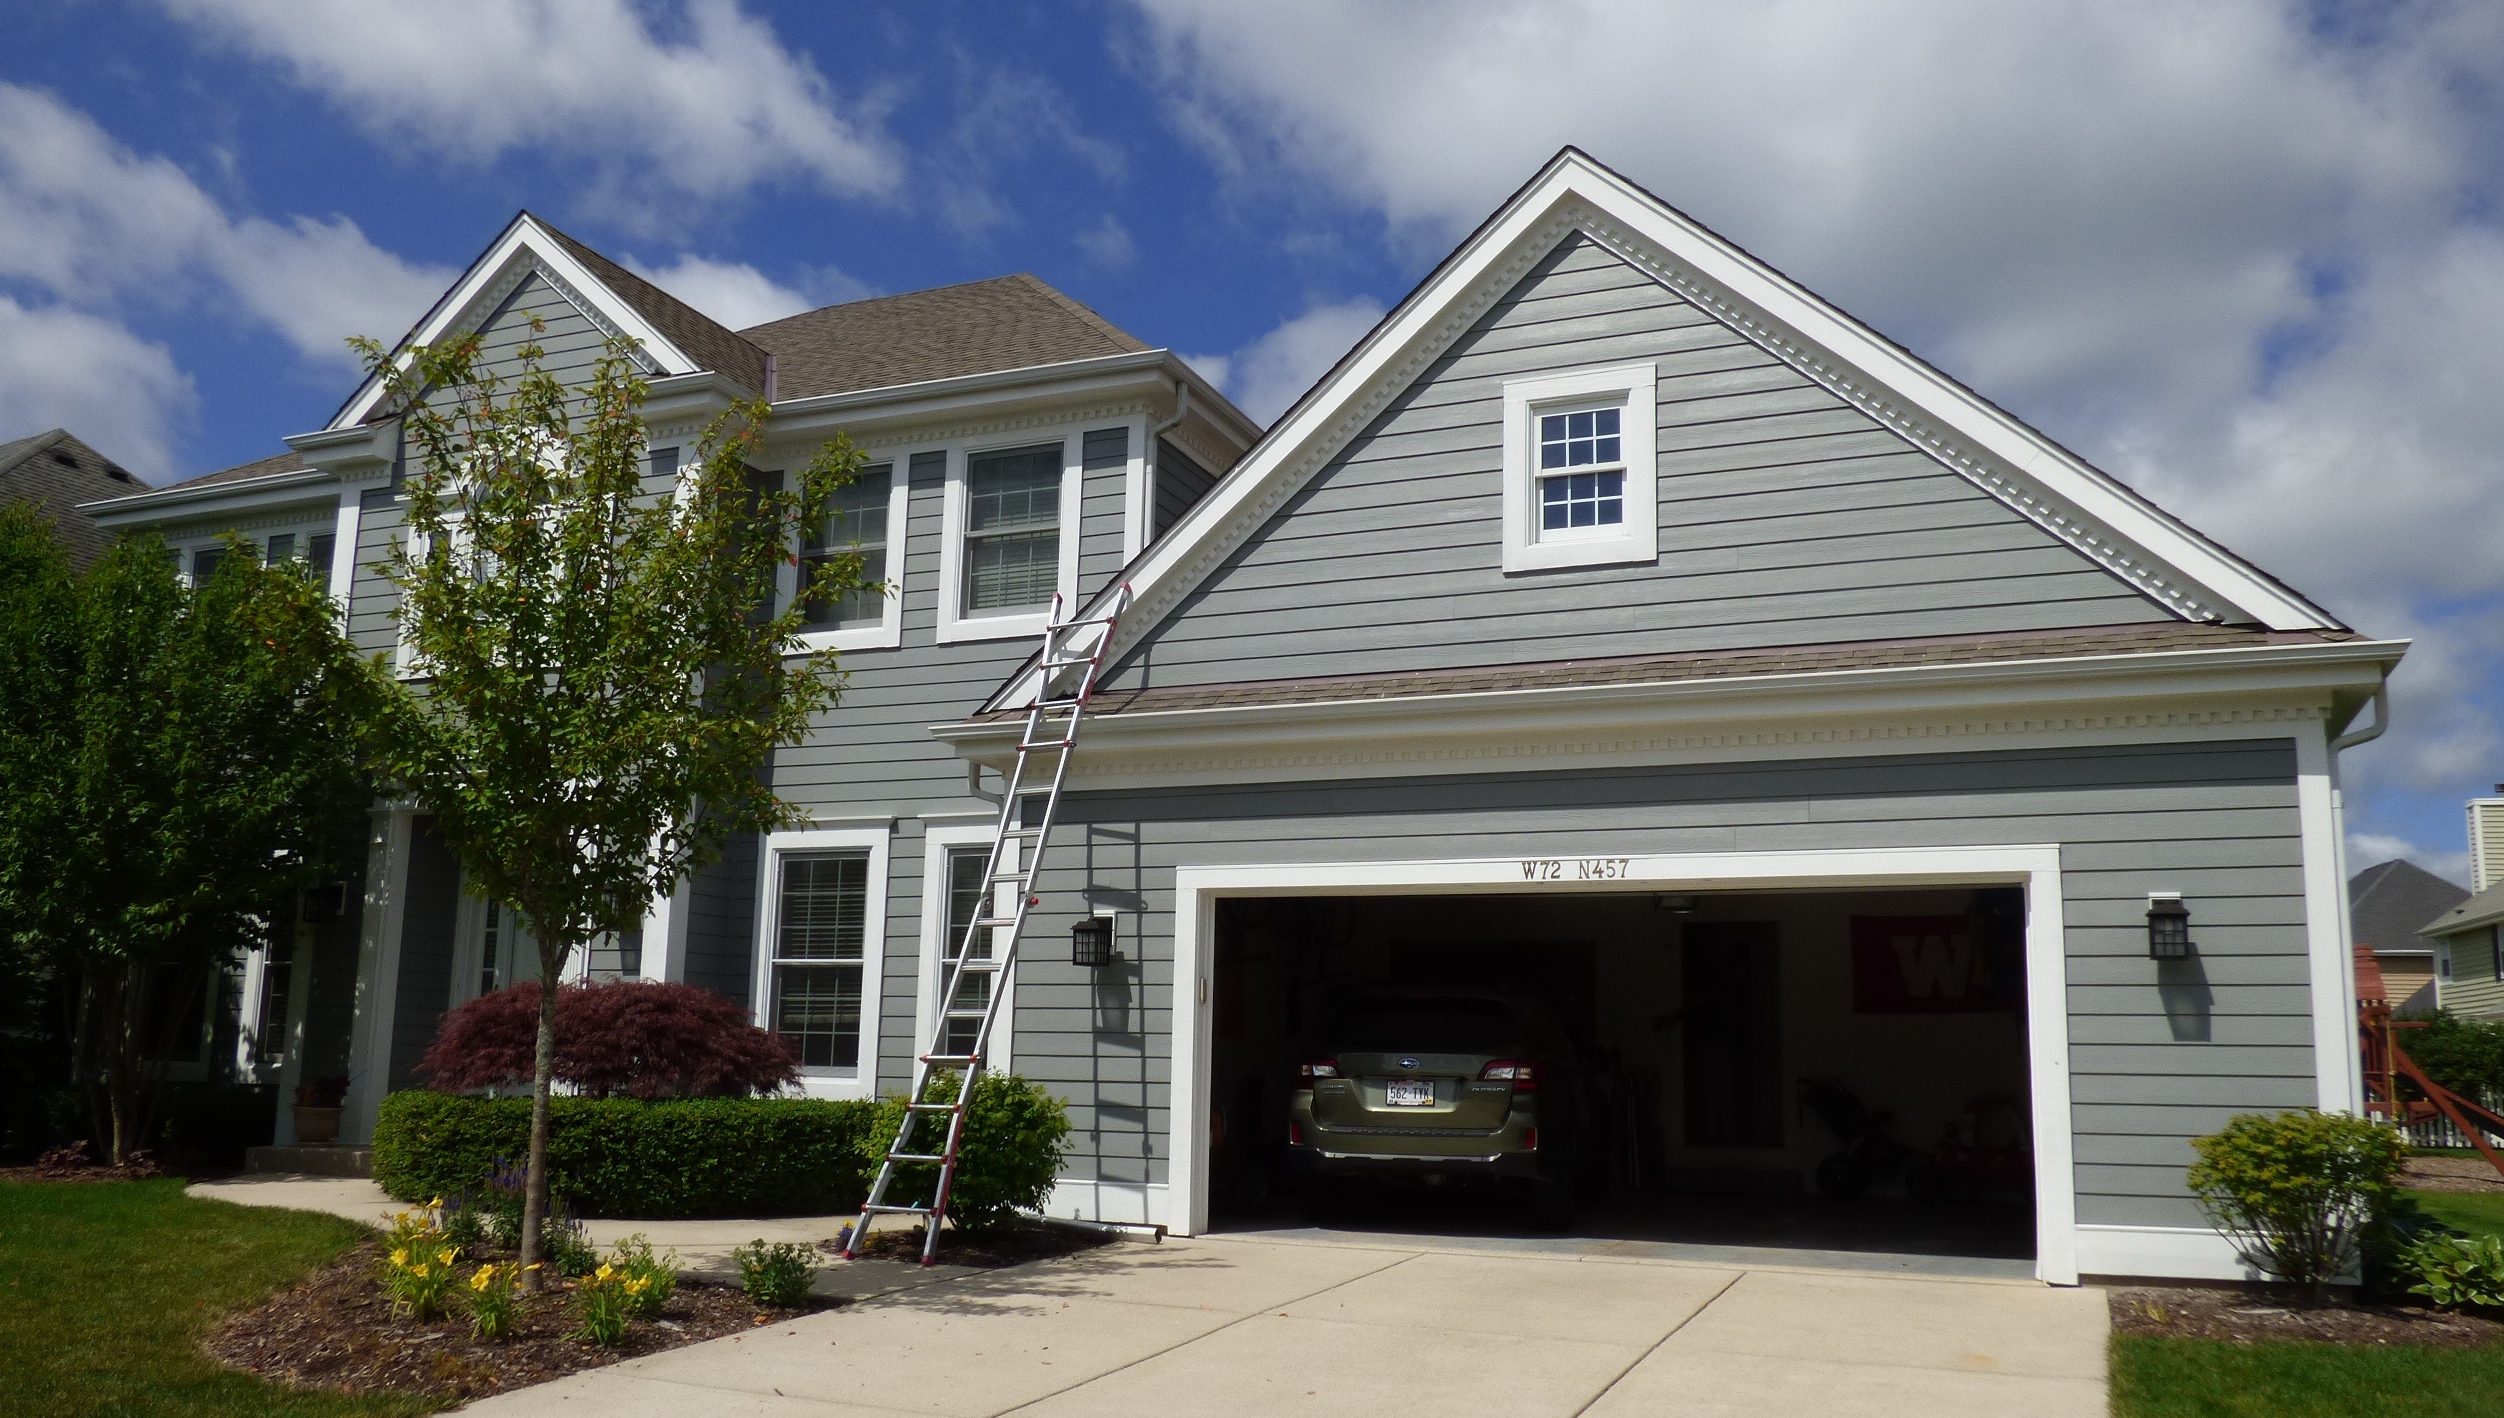
Figure 1: Home With Cement Siding
Visual Signs to Note During Your Inspection
From a distance the home looked great but up close these problems were evident:
• Above the garage door jamb, there was evidence of minor water damage and peeling paint below horizontal trim (See Figure 2: Garage Door Issues). Similar water damage was occurring below horizontal trim at the front entrance where the structure was rebuilt. Leaks should not occur in either place.
• In the attic above the garage, the back side of the OSB sheathing (oriented strand board) was visible. Hundreds of nails had missed studs (See Figure 3: Nailing Through OSB). Fiber cement siding must be fastened to studs.
• Some cap flashings were caulked to the siding (Figure 4: Cap Siding and Caulk). Some were pitched into the wall assembly, and some had inadequate clearance to the siding —a minimum gap of ¼ inch is required.
• Some nails were visible even though this was a blind nailing installation. Nails were overdriven and breaking through the surface of the siding.
• Kick-out flashings were not properly installed (See Figure 5: Kick-Out Flashing).
• There was no starter strip at the starter edge of the siding.
• Cut siding and trim edges were not painted.
• The roof-to-siding clearance was too small.
Because so many installation errors and leaks were apparent, I asked if we could investigate further by removing siding in several areas. (This is what a home inspector should report.) We met with the contractor at the home and reviewed my list of concerns. He agreed to remove siding for further evaluation.
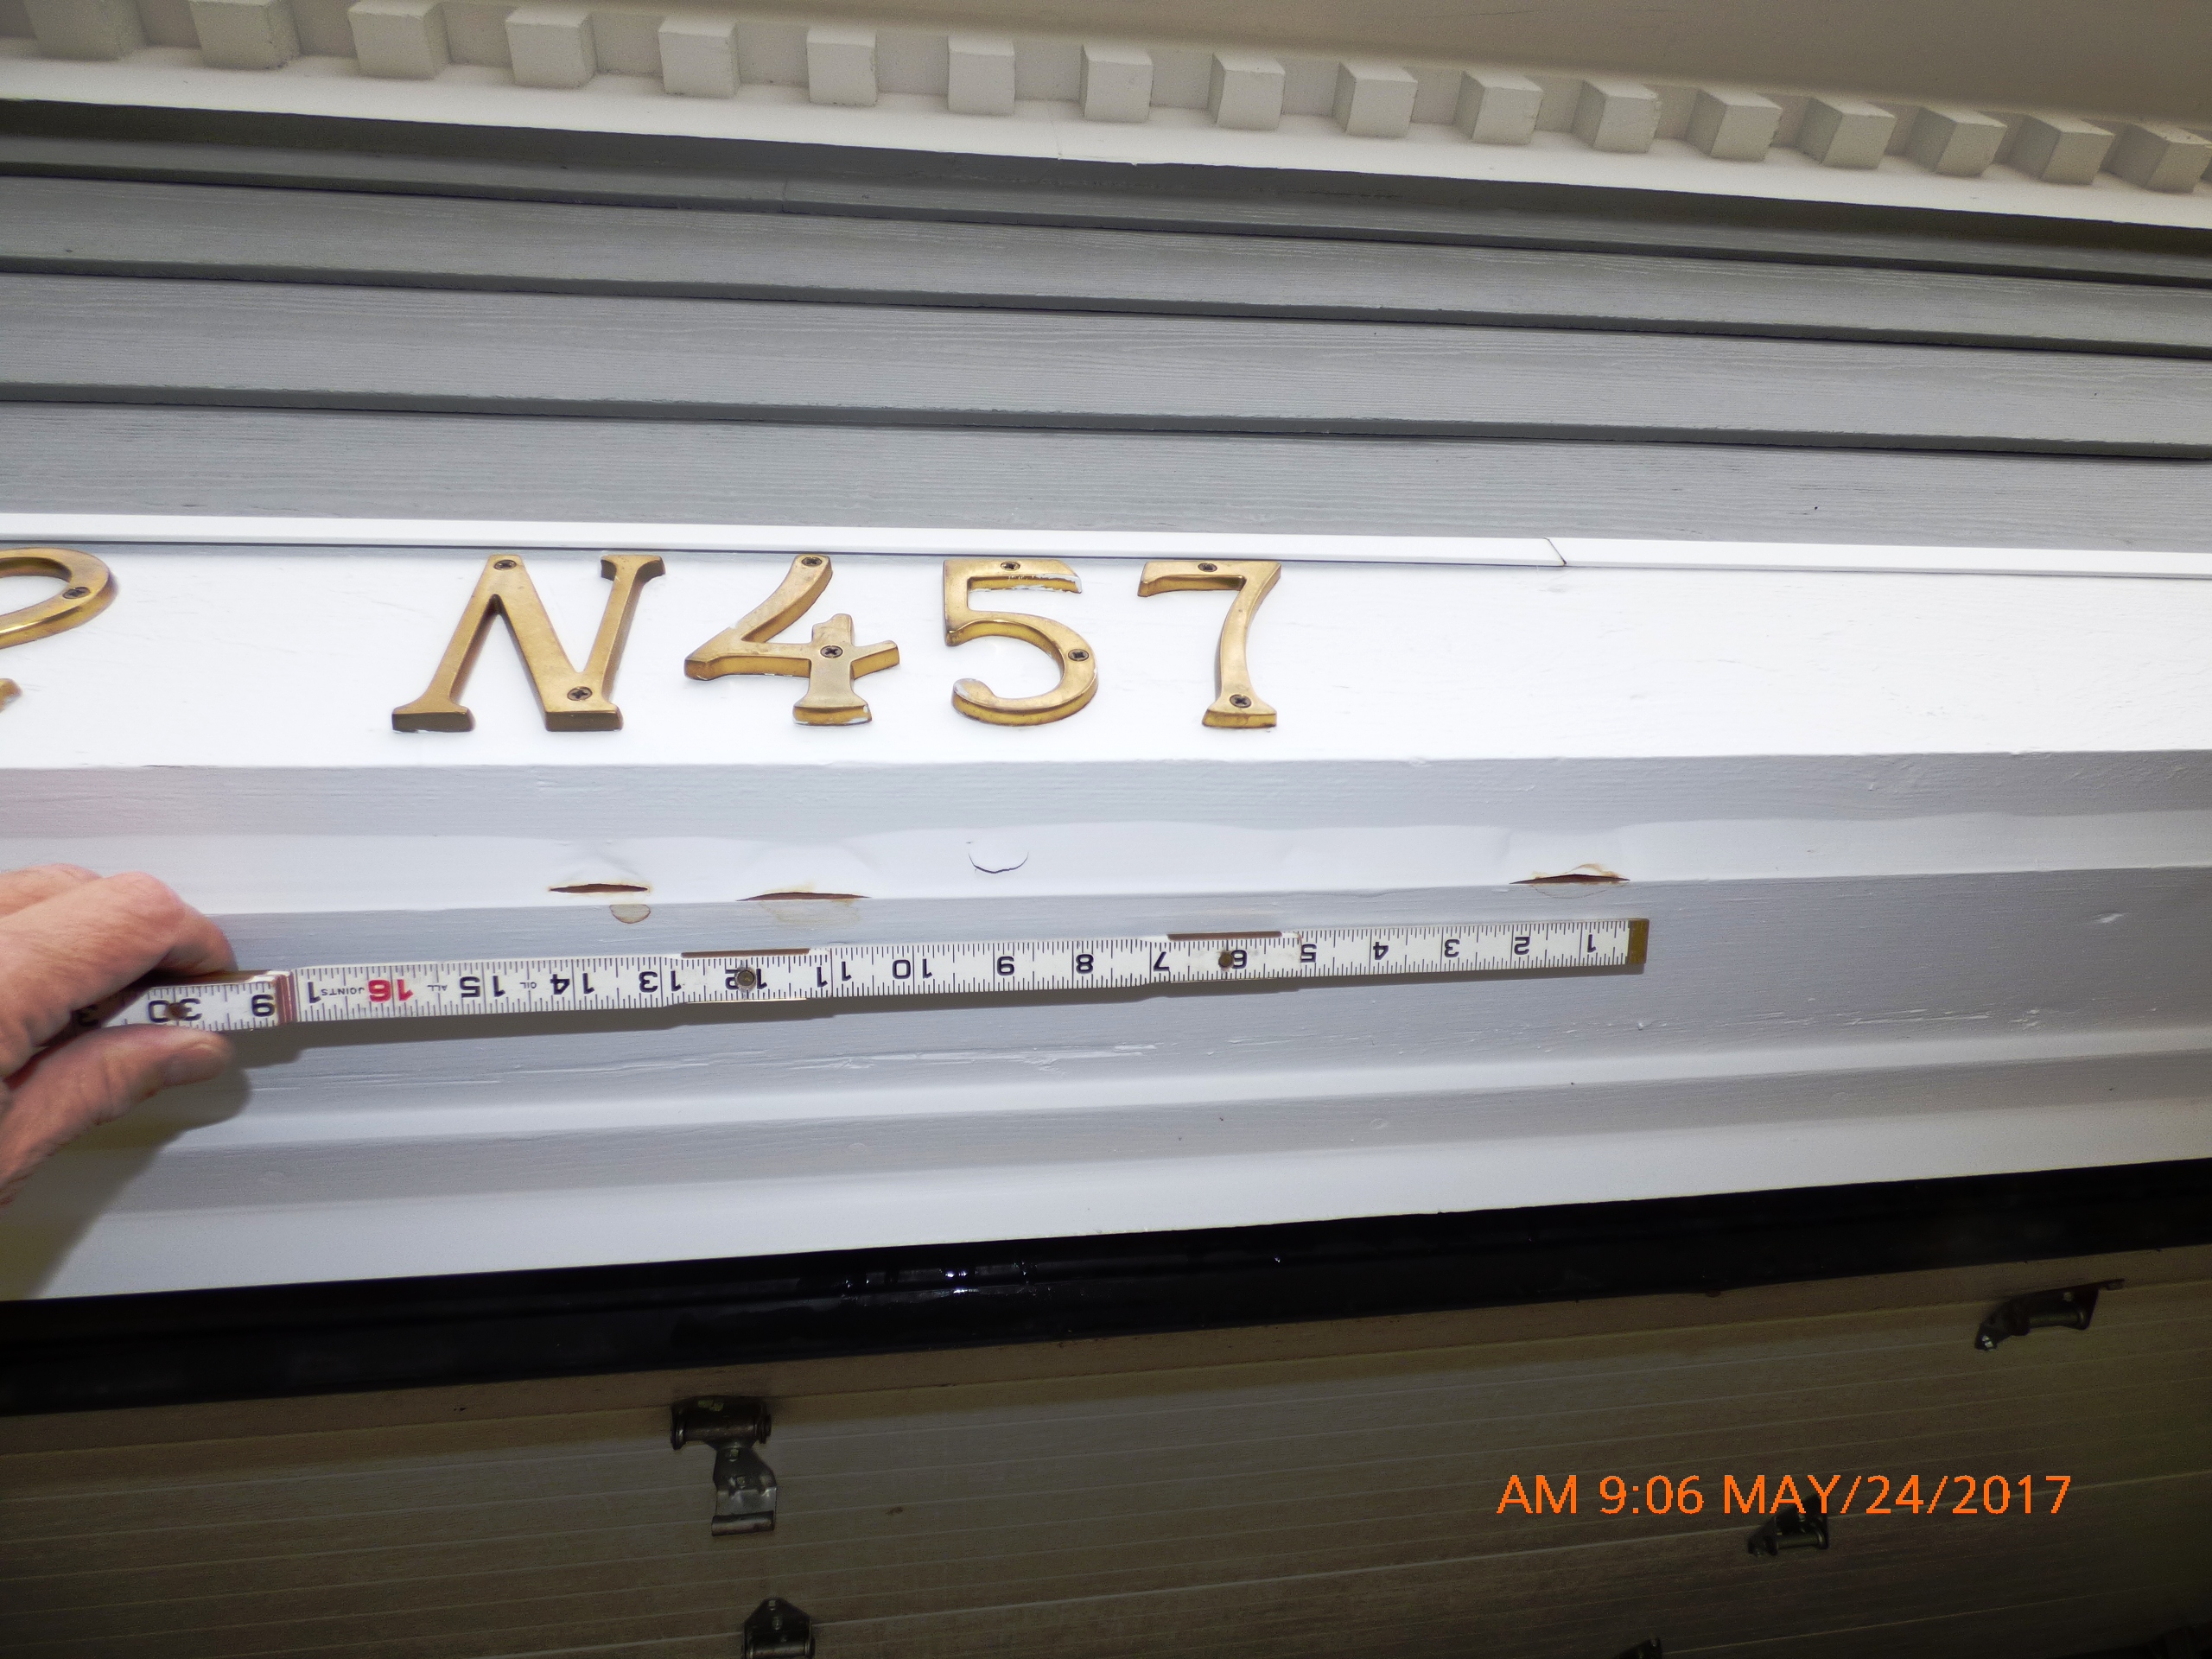
Figure 2: Garage Door Issues
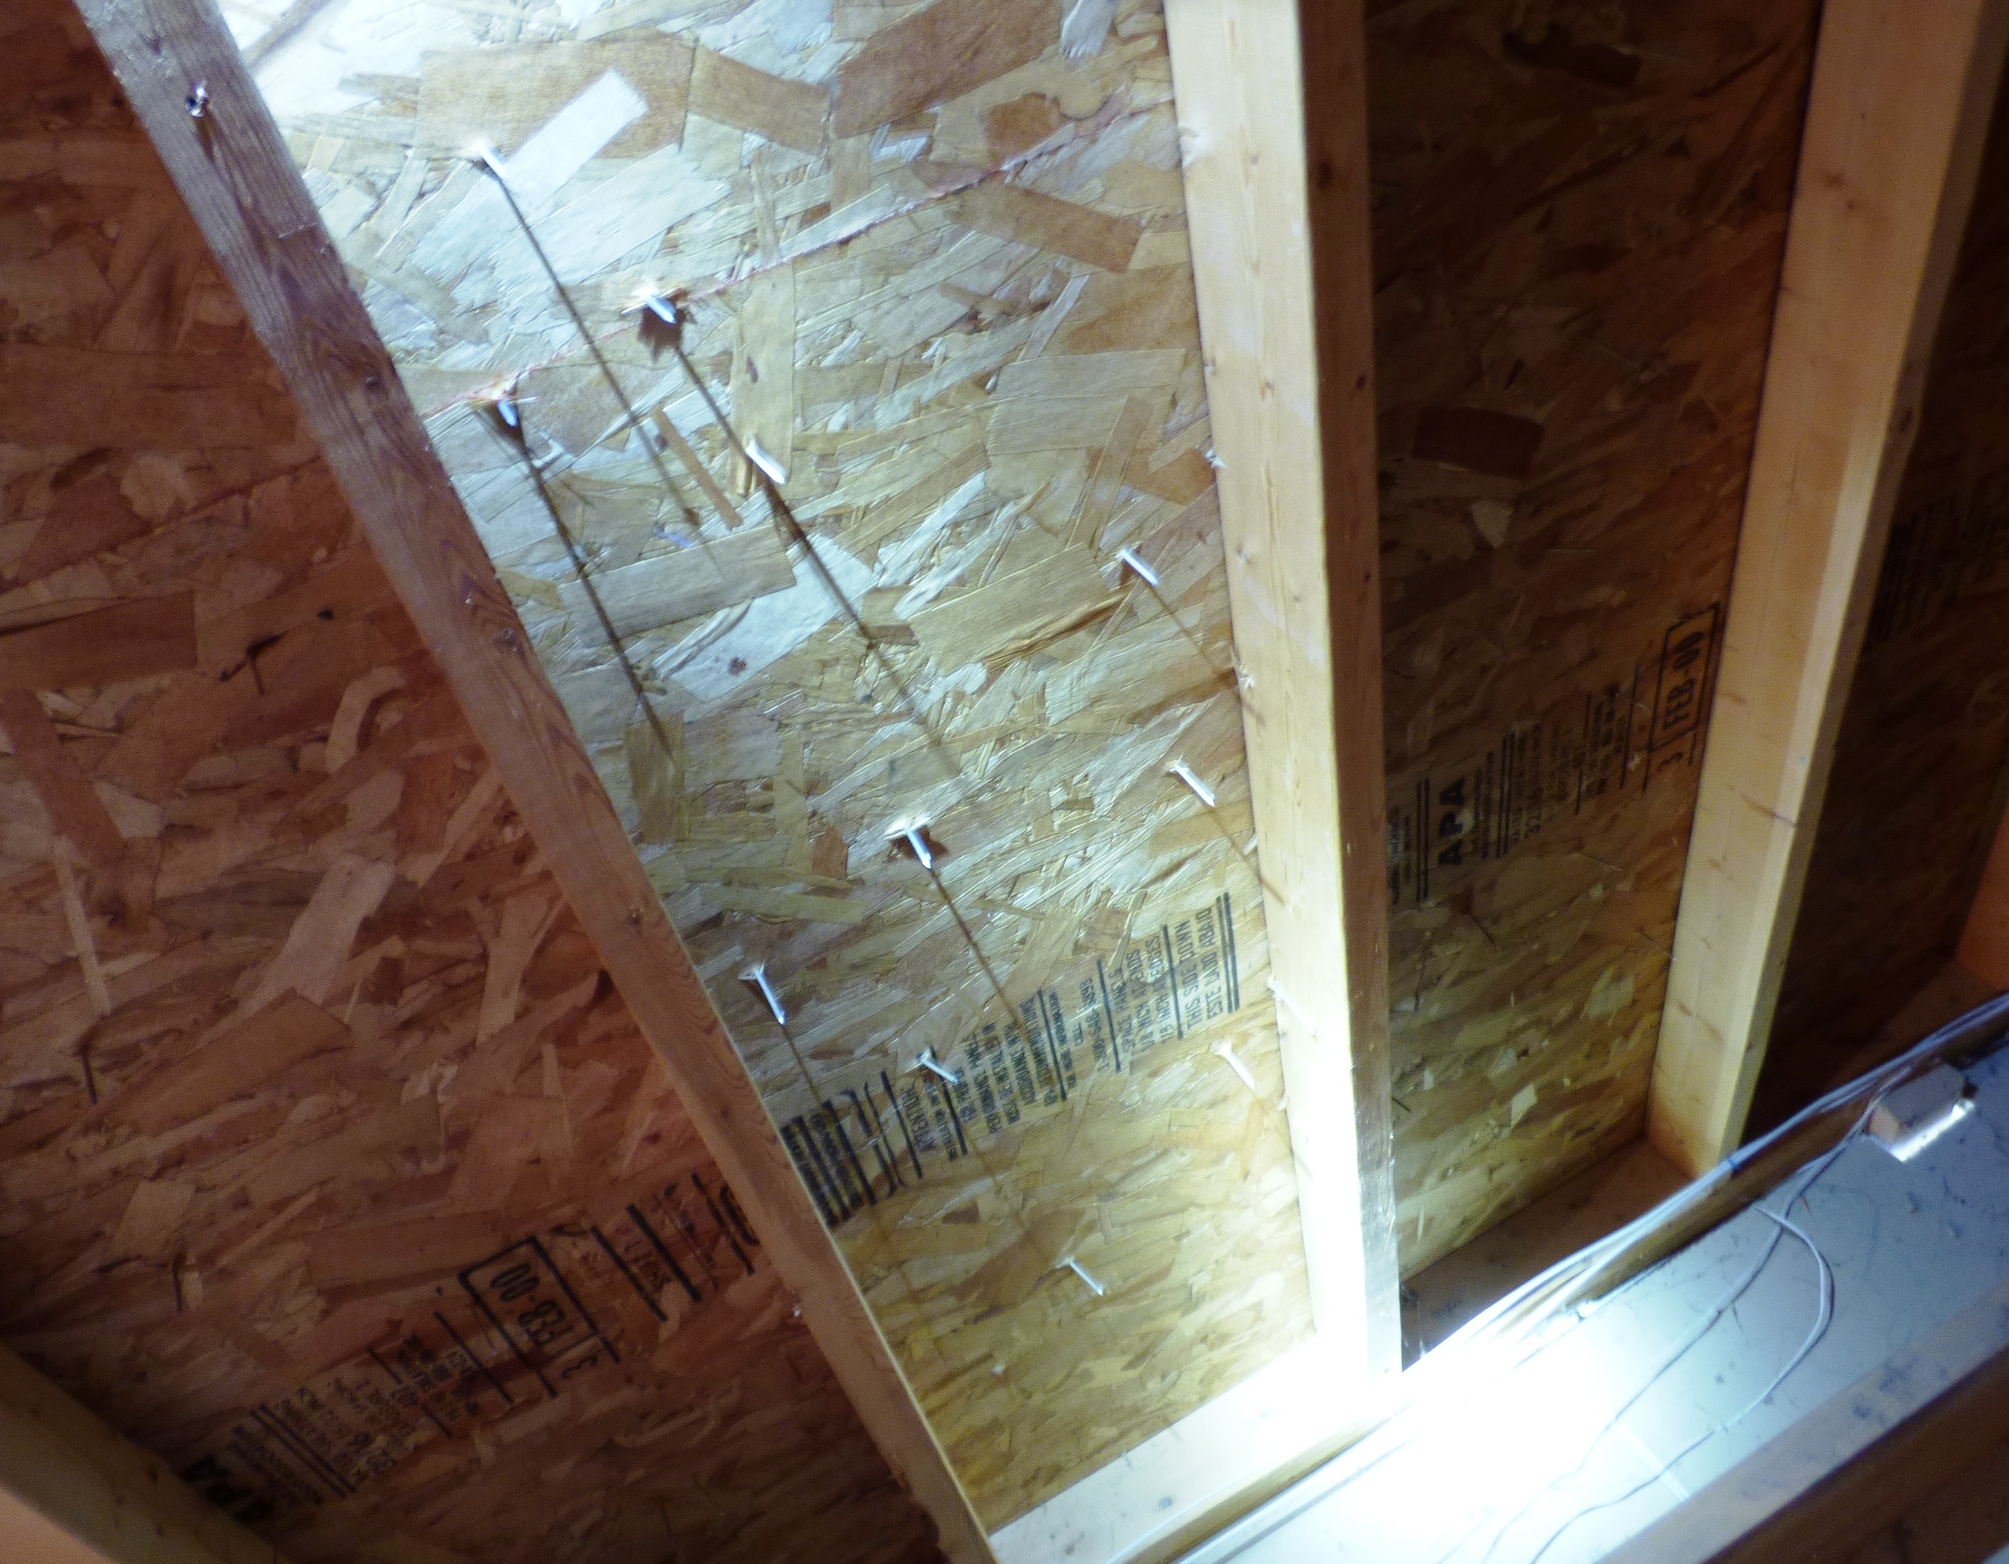
Figure 3: Nailing Through OSB
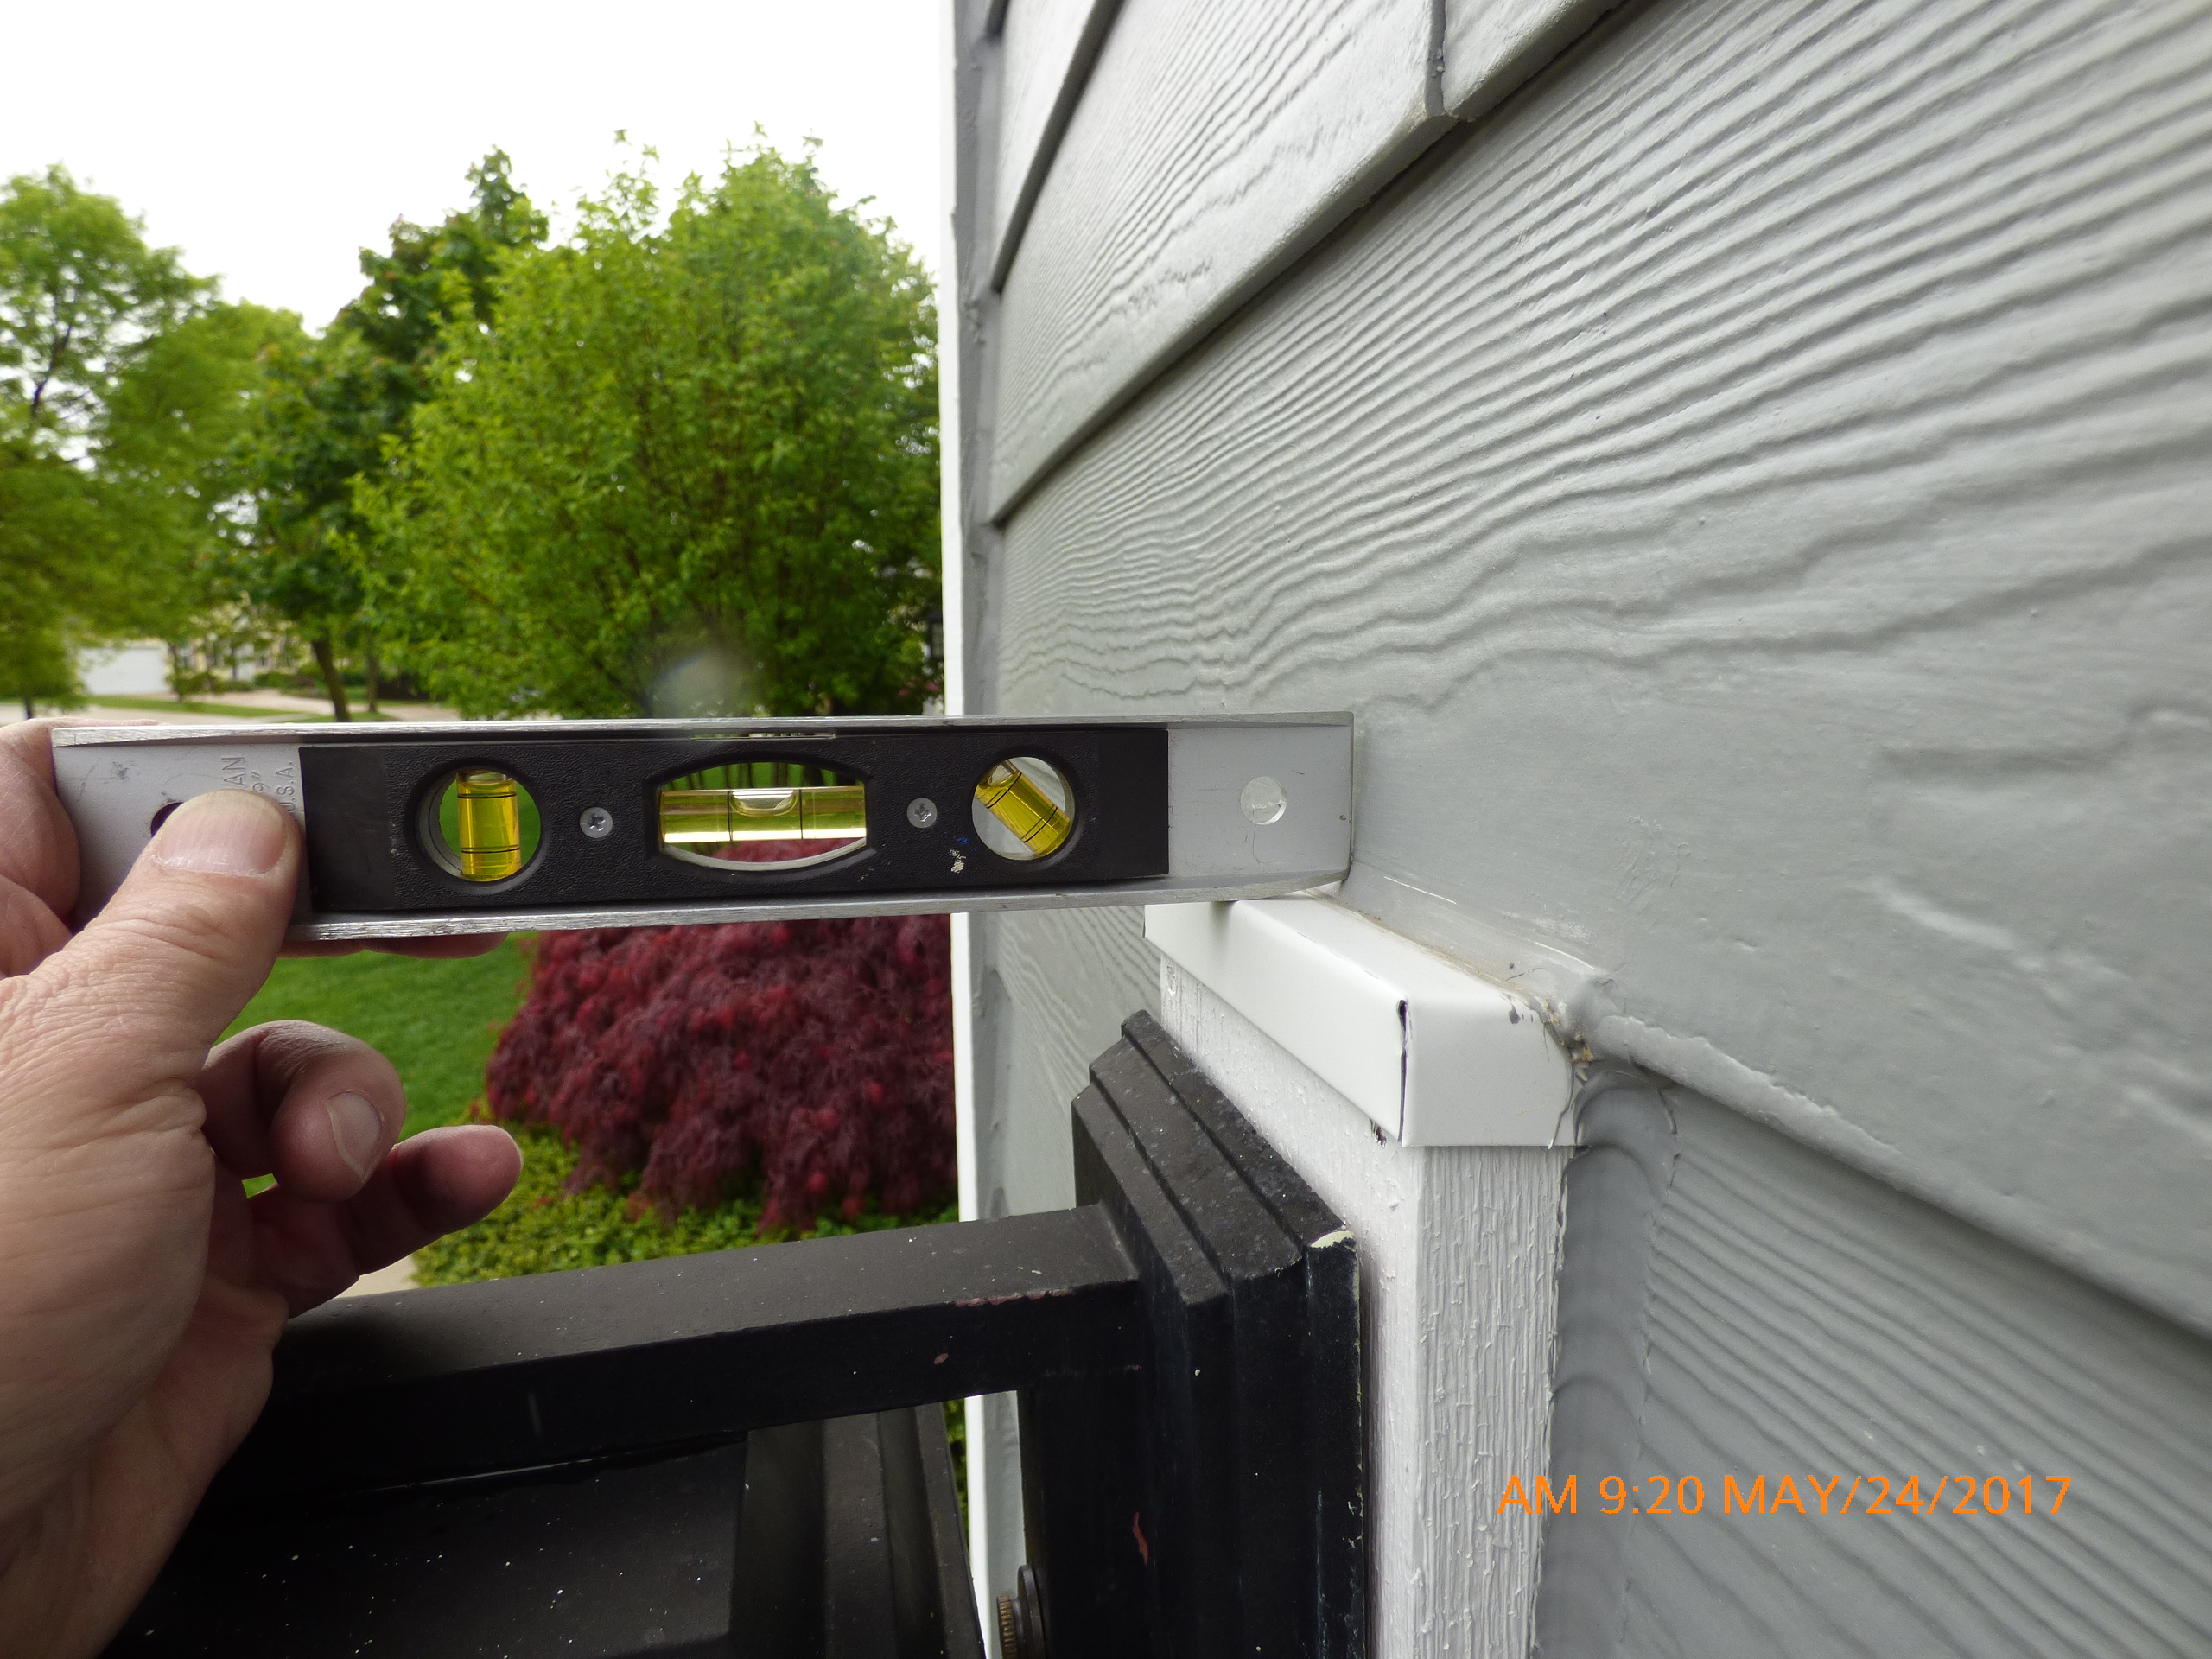
Figure 4: Cap Siding and Caulk

Figure 5: Kick-Out Flashing
Let the Demolition Begin
During siding removal, we reviewed the installation over the garage door and found improper layering of the cap flashing and the water-resistant barrier (See Figure 6: Defective Layering at Garage). At several windows, metal cap flashings were placed over the water barrier, not tucked under the barrier (See Figure 7: Improper Layering at Window). By identifying the now visible nail spacing, we also found that the siding was not nailed to studs.
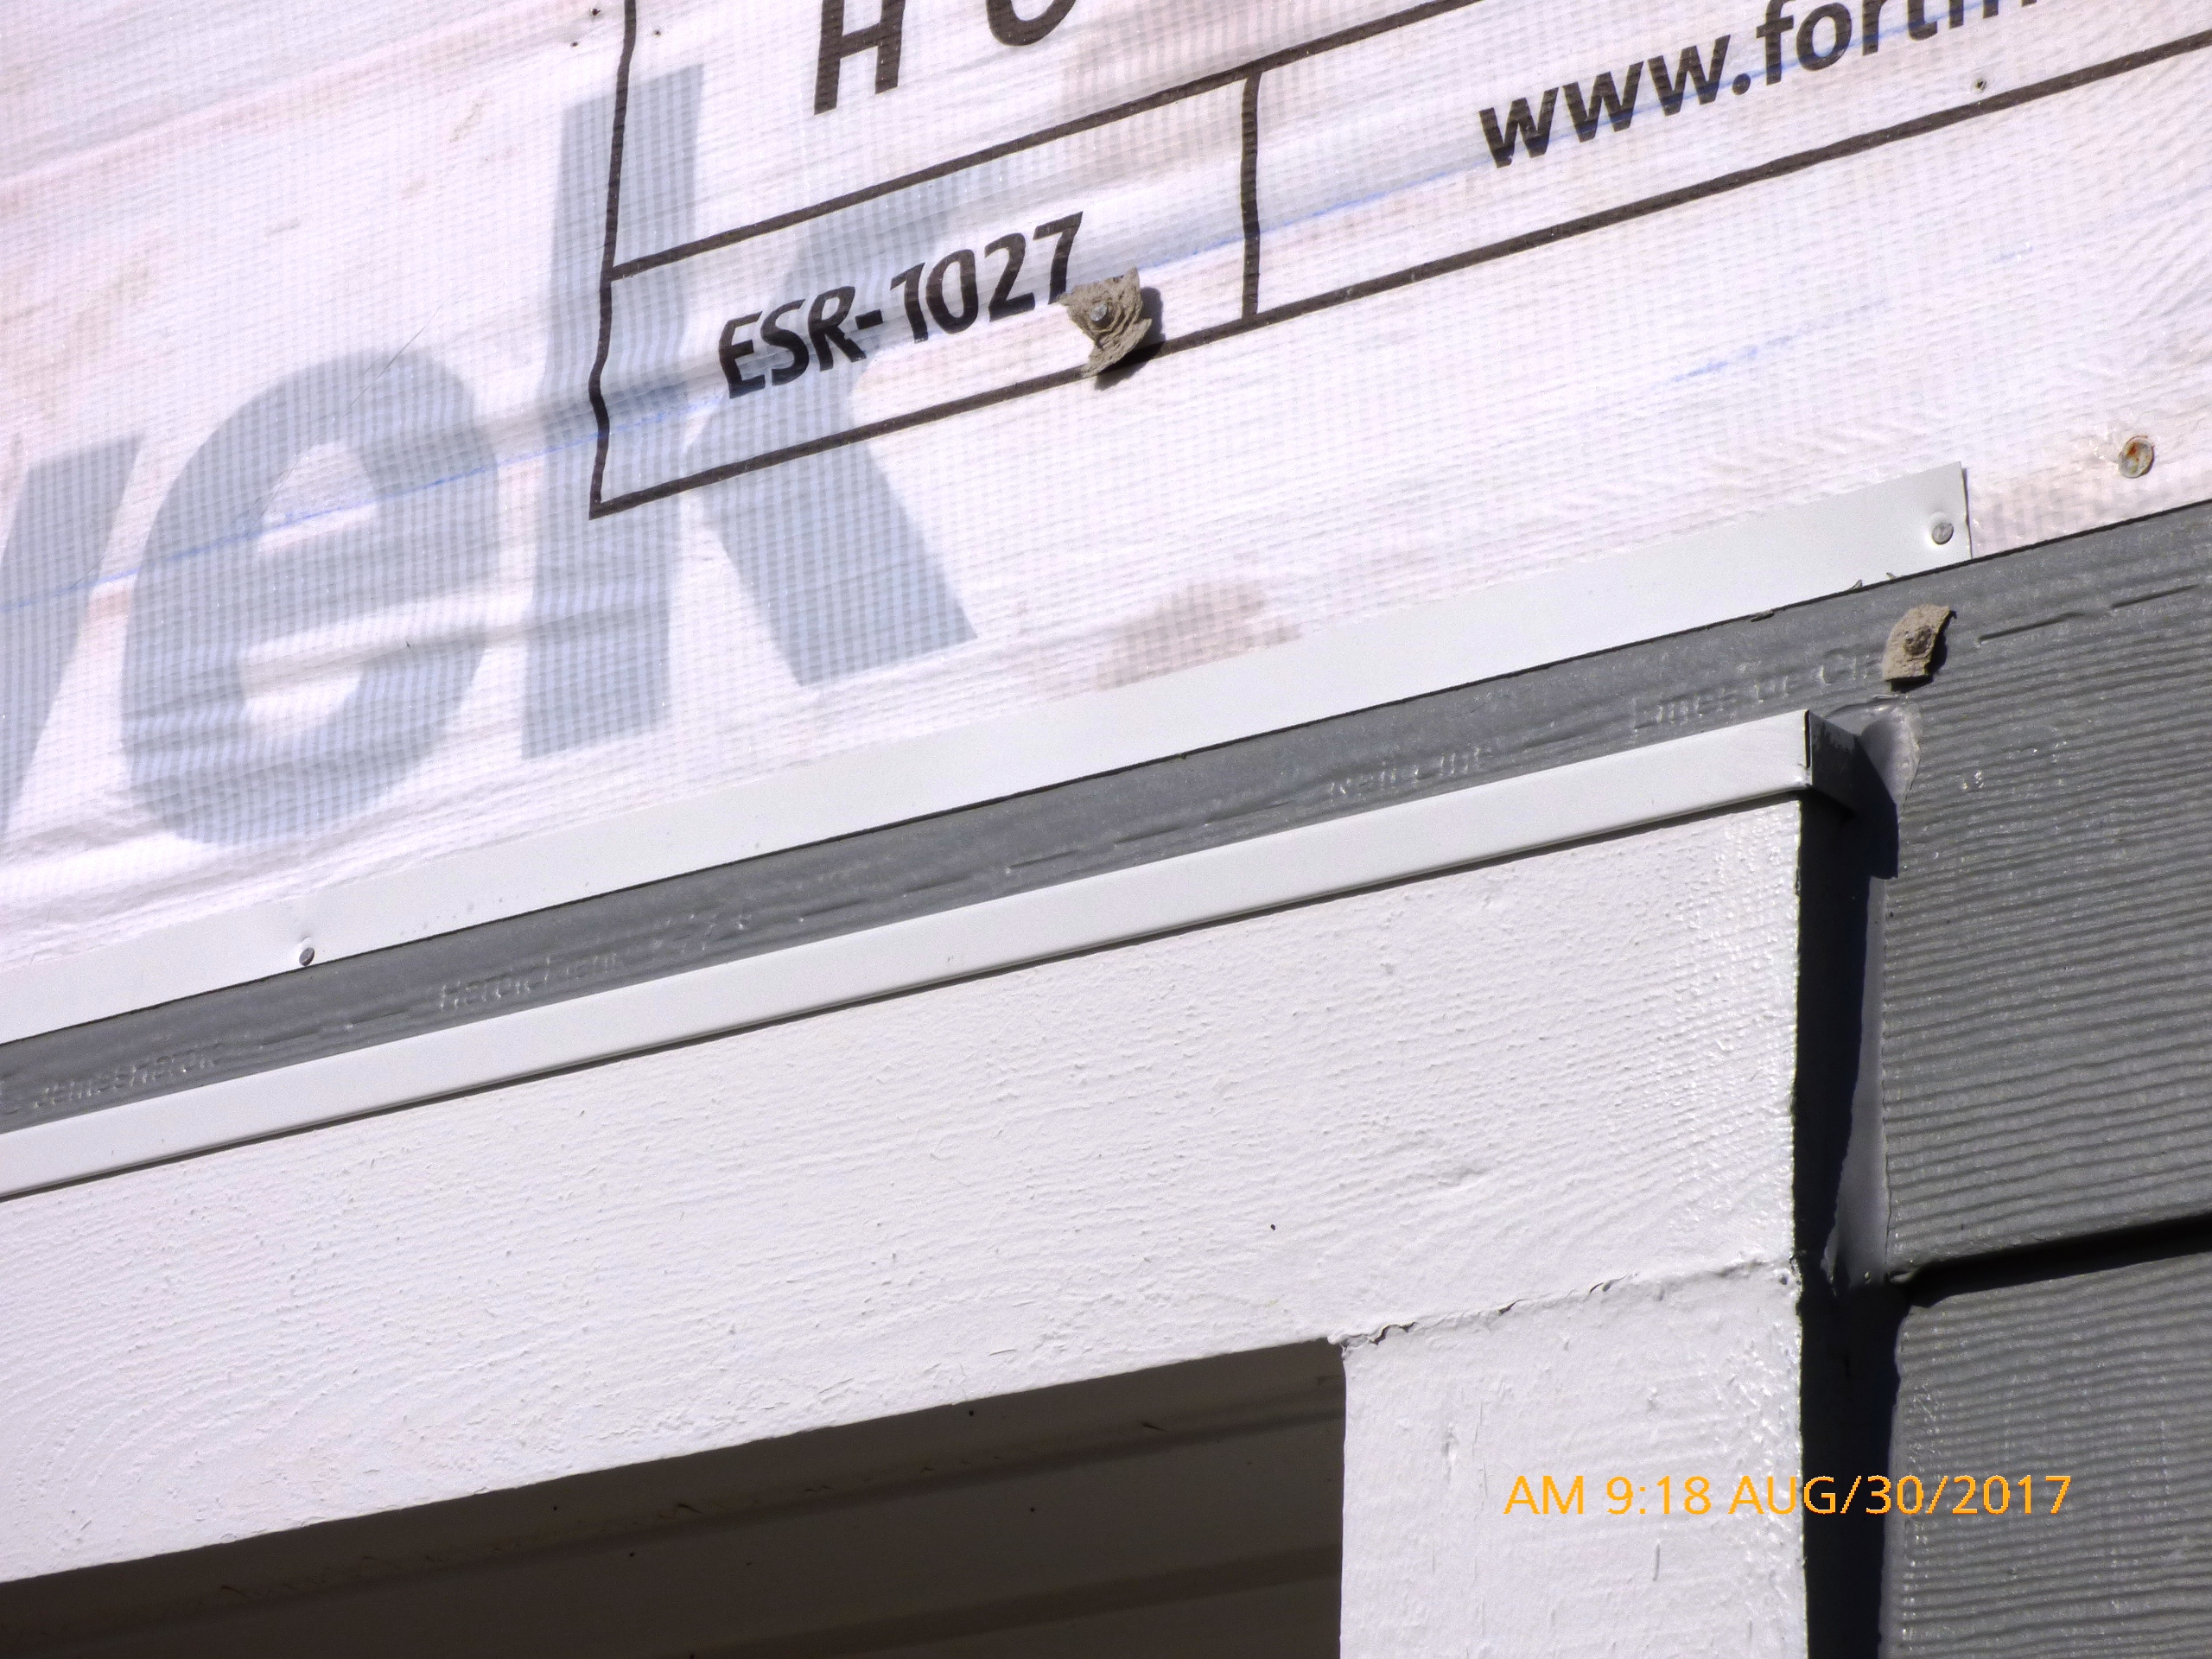
Figure 6: Defective Layering at Garage
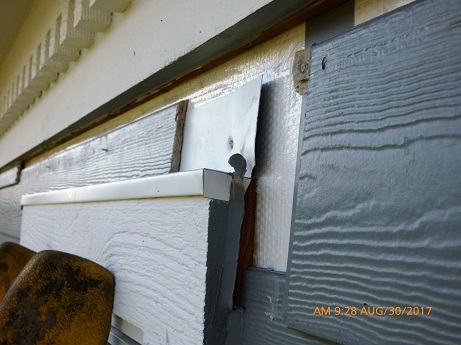
Figure 7: Improper Layering at Window
We found some nails overdriven and puncturing the siding. We agreed that kick-out flashings were improperly installed; the clearance to the roof and flashings was too small. Some siding was improperly caulked to the flashing. (See Figure 8: Wall Flashing – Water Flow Fundamentals, and Figure 9: Metal Head / Cap Flashing Edge.)
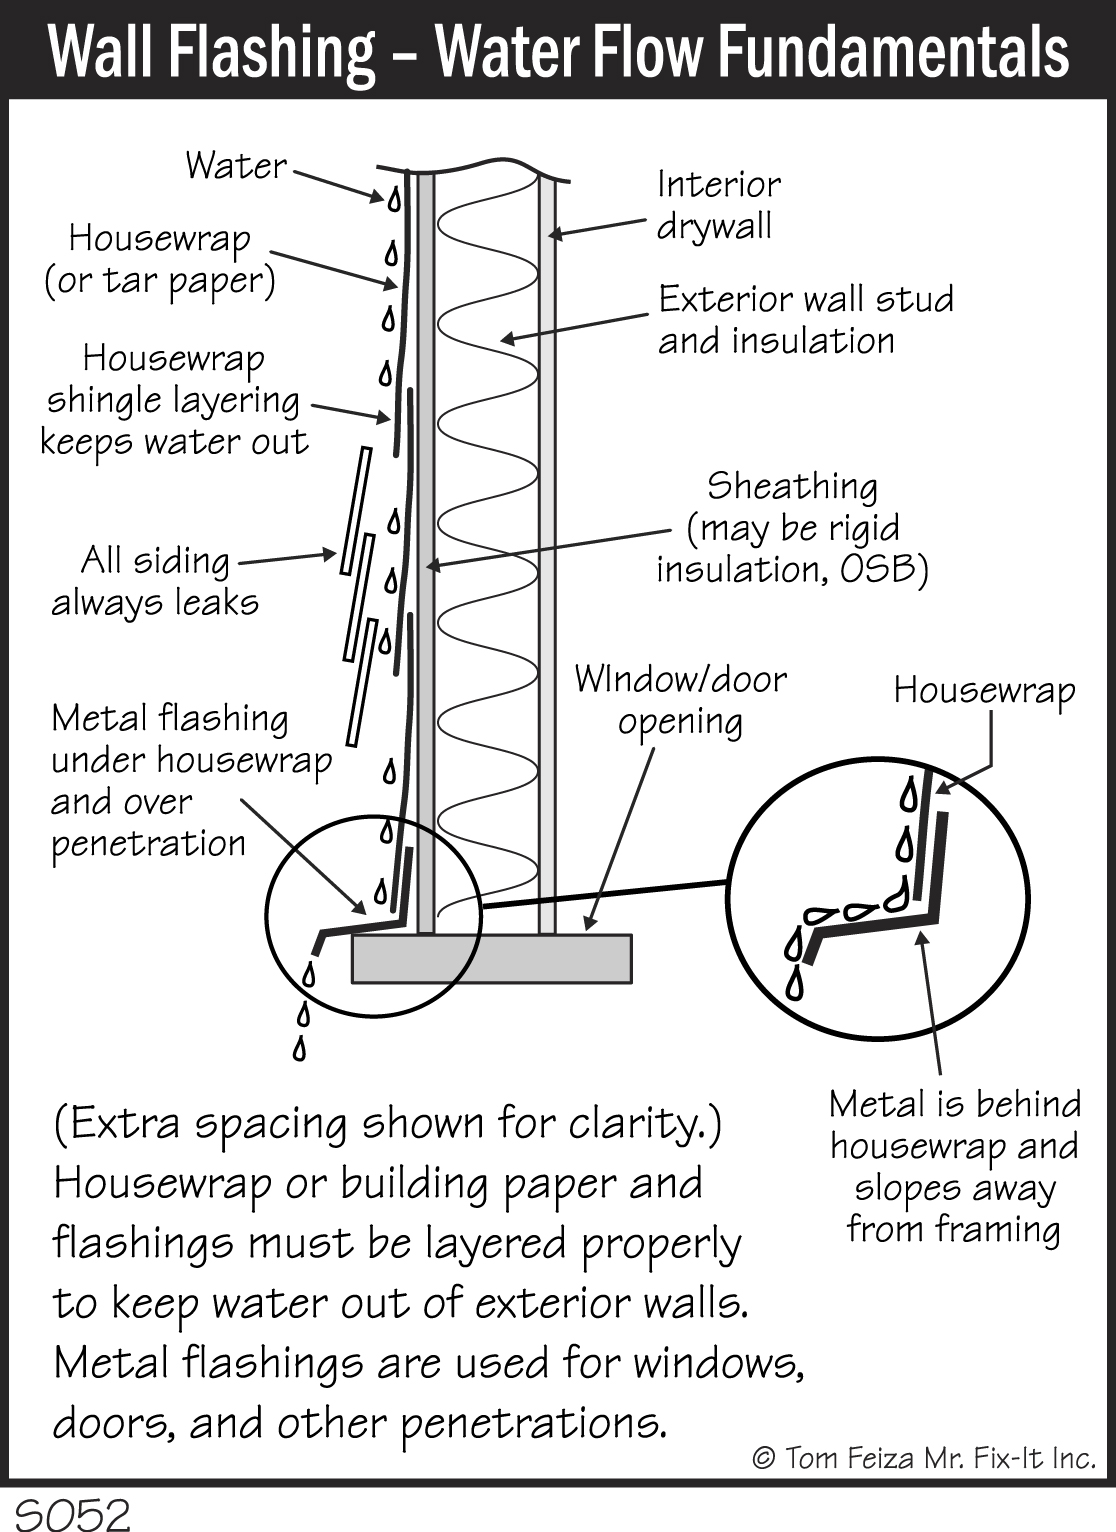
Figure 8: Wall Flashing – Water Flow Fundamentals
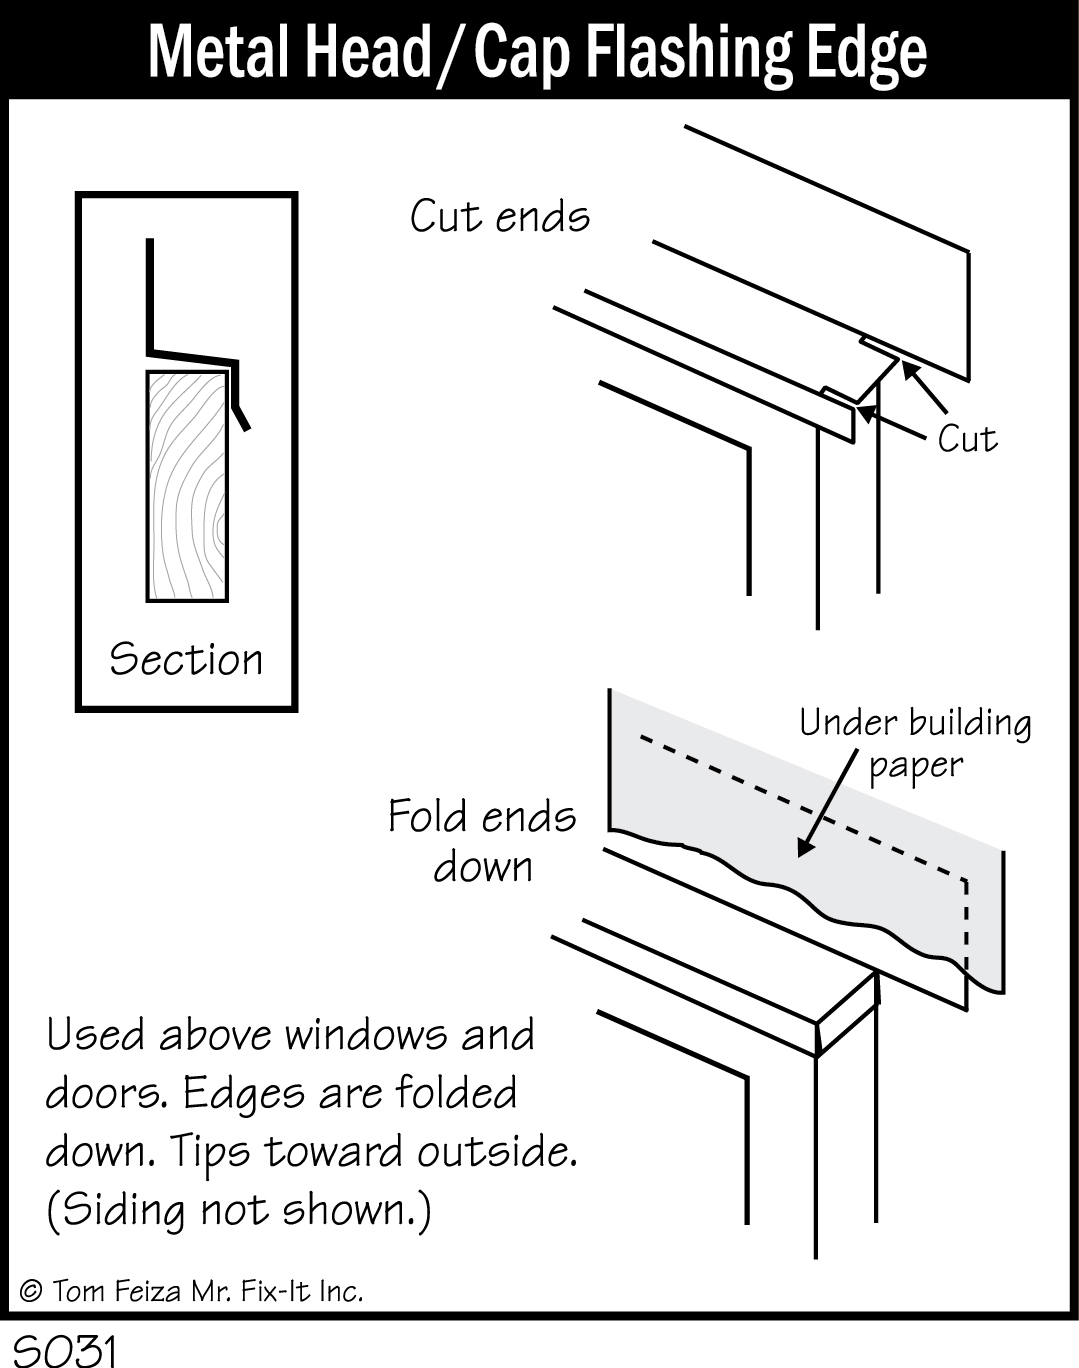
Figure 9: Metal Head / Cap Flashing Edge
This Reputable Contractor Took Action
After some difficult and frank discussions with the owner and the contractor, the contractor decided to completely remove the siding and replace it with proper flashing and layering of materials. The original project had cost about $30,000, so the contractor was making a major commitment to do the job right. This high-quality contractor unfortunately had assigned an inexperienced crew to this particular job.
Advice for home inspectors:
• Study the installation instructions for products used in home construction. Specifically, study the manufacturer’s instructions for all siding products, trim, housewrap, flashing, adhered masonry veneer (faux stone) and asphalt shingles. All manufacturers provide highly detailed instructions online. Also, study instructions provided by industry associations. Carry the instructions in your vehicle so you can refer to them during inspections.
• Attend local and national educational seminars on report writing; identification of defects; and siding, roofing, flashing and water intrusion.
• In your home inspection report, always detail any installation errors you notice – for example, caulking a cap flashing to siding.
• When you notice installation errors, watch for signs of damage. You will often see fresh paint over rotted siding, and paint and caulk over window and trim rot. Take pictures, and identify the issues in your report.
• Remember that exterior leaks or installation errors might not always create visible leaks inside a home. They can create hidden leaks inside a wall assembly and eventually cause a catastrophic failure. The interior plastic vapor barrier under the drywall does a great job of trapping moisture inside a wall assembly. The leak or moisture problem is not visible inside the home because it’s behind the plastic.
• Don’t own a big problem by failing to report visible issues. If you notice installation issues and moisture problems, note that in your report and suggest further evaluation.
• Be ready for a contractor, homeowner or even a manufacturer’s representative (the salesperson) to challenge your findings. When that happens, point them to the installation instructions, the improper installation and the visible damage.
• Understand that manufacturers’ representatives (who are often salespeople) have a difficult conflict of interest when evaluating a contractor who buys their products. Understandably, most representatives just will not admit that there is an issue.
In my consulting work I have seen more and more moisture issues caused by improper installation of materials on homes built since 1990. I rarely see a product failure cause a moisture problem. Some of the water intrusion problems require rebuilding sheathing and studs.
The scope of my investigation on this siding failure goes far beyond the usual responsibility of a home inspector. But every home inspector should identify visible issues and recommend further evaluation.
Free Risk Management Online Course Claims and Complaints: How to Stay Out of Trouble
Available Now
Presenter: David Brauner, Senior Insurance Broker OREP
David Brauner, Senior Broker at OREP, shares insights and advice gained over 25+ years of providing E&O insurance for inspectors, showing you how to protect yourself and your business. Watch Now!
About the Author
Tom Feiza has been a professional home inspector since 1992 and has a degree in engineering. Through HowToOperateYourHome.com, he provides high-quality marketing materials that help professional home inspectors boost their business. Copyright © 2017 by Tom Feiza, Mr. Fix-It, Inc. Reproduced with permission. Visit HowToOperateYourHome.com (or htoyh.com) for more information about building science, books, articles, marketing, and illustrations for home inspectors. Or e-mail Tom (Tom@misterfix-it.com) with questions and comments. Or call 262-303-4884.
Note: The Winter 2019 issue of Working RE Inspector mailed to over 20,000 home inspectors nationwide. OREP Insureds enjoy guaranteed delivery of each print magazine and many more benefits.

OREP Appraiser E&O insureds enjoy it free and this year Free Approved Continuing Education!!
by KVN Construction
Thank you for sharing this informative post on siding installation and moisture intrusion issues. As a Portland siding contractor with years of experience at KVN Construction, we completely agree with the importance of proper installation and adherence to manufacturer instructions. Incorrect installation can lead to long-term issues like water damage and mold, which are difficult and expensive to repair.
We see similar challenges with homeowners in Portland, WA, where moisture intrusion is a common issue due to improperly installed siding, even with high-quality materials like fiber cement. At KVN Construction, we specialize in Portland siding services, ensuring that every siding project is executed to the highest standards. From precise flashing installation to ensuring the right gaps and seals around windows and doors, we prioritize proper moisture management to protect your home. Our certified crew is trained to handle these complex issues, preventing the kinds of problems you’ve outlined and delivering lasting results.
It’s essential for homeowners to choose an experienced contractor who understands the intricacies of modern siding materials and installation techniques. If you’re considering a siding replacement in Portland, reach out to us at KVN Construction. We’re committed to ensuring your home is not only beautiful but also moisture-proof for years to come.
-by Jenny jenkins
Thanks for the article
-by roof leads
Good stuff, thank you for posting… ;)
-by S.Mike Frost
The kick out flashing in the picture is not properly installed
-